Disclaimer: PTR is, of course, PTR. This quest chain has only been accessible for a couple days and may change radically before release.
Disclaimer 2: THERE ARE MASSIVE SPOILERS INSIDE. EVERY STEP OF THE CHAIN AND EVERY LINE OF DIALOGUE ARE LAID OUT OPENLY. IF YOU WANT TO BE SURPRISED AT ALL, STAY AWAY.
Disclaimer 3: There are a ton of pictures included in this post. Beware of slow load times.
Still here? Great. Let's do this thang.
Currently on the PTR, you start the quest chain by looting an epic item called the Sealed Tome of the Lost Legion from an NPC called the "Green Flame Infernal" near the Shado-Pan Garrison in Townlong Steppes (right where you pick up daily quests). The NPC is currently labeled as a <Test Realm Inhabitant> so it's unclear how much of this is placeholder, but the official feedback thread posted by Ghostcrawler seemed to indicate that it would work similarly on live. My understanding is that the Sealed Tome will actually be a world drop, but anything could happen before launch.
The mob was being heavily camped when I came along and a GM was nice enough to spawn a few dozen of them on top of our heads to get people moving along.

In order to use the Sealed Tome, you'll first need to bind it to yourself with a Healthstone. Simple enough: create a Healthstone and right-click on the book.

The quest instructs you to consult your demonic minions, so bring out a pet and ask them what they know of it.

I love the Felhunter's reaction.


So now you know what the book is for . . . sort of. You're instructed to visit a warlock trainer in a major city and see what they know about it. Per Ghostcrawler, not all trainers are currently linked to the chain yet (I ended up in Undercity before I found one) but on live you should be able to go to any of them.
After speaking to your trainer, you're instructed to reread Legacy of the Masters and given Jubeka's journal to also read. Inside the journal are some fantastic bits of lore about where we got our new Grimoire talents as well as some insight into demonic life. More importantly, it contains the clues you'll need to track down the fragments of her Soulstone.


Now that you have the tools you need you can find a portal to the Blasted Lands and head to Outland.
The first fragment is in Hellfire Peninsula and, even though the blue spot on the world map covers most of the zone, Jubeka specifically mentions dealing with Fel Imps in Felspark Ravine so you'll want to head there. The fragment is a small and black clickable item on the ground and you'll get "Hot" or "Cold" indicators showing up in your combat text as you get closer to it.


Rinse and repeat for the next three fragments in Netherstorm:


. . . Blades Edge:


. . . and Shadowmoon Valley:


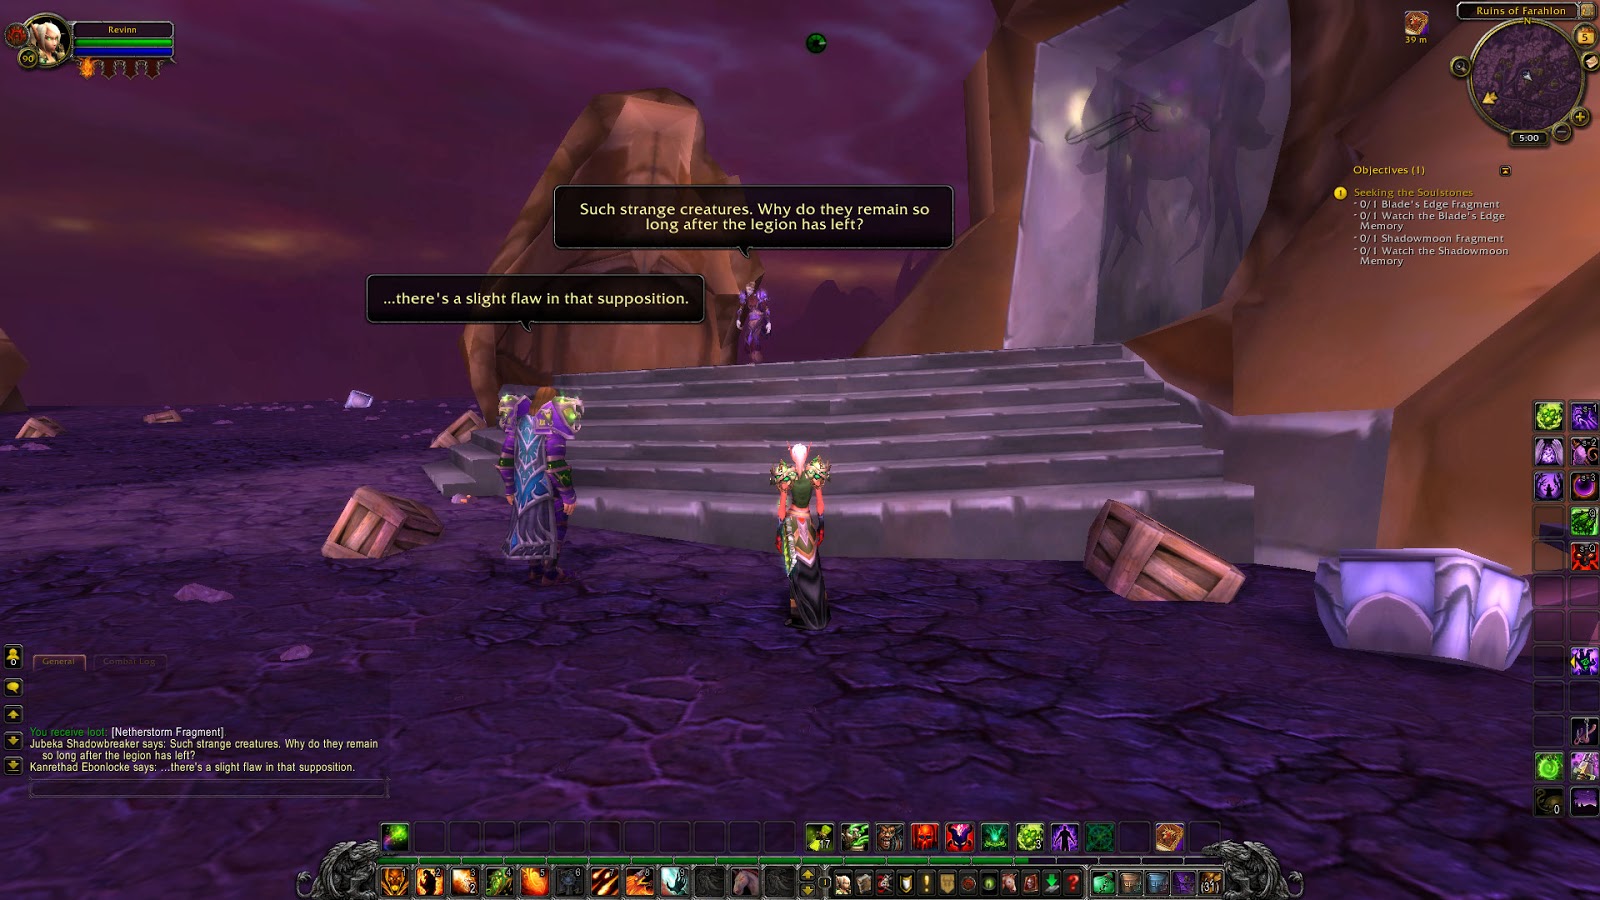
Once you have the completed Soulstone, it will lead you to the Black Temple. However, don't take the side entrance used for the raid instance. Walk up to the main gate and click on it. Here you'll be queued for a solo scenario and ported inside a few seconds later.

Once inside, it's clear that Akama and the Ashtongue have locked the place down from intruders but haven't made much headway towards the purification he swore to 5 years ago. You'll want to avoid the guards (I could simply walk past them since I'm exalted with the Ashtongue Deathsworn, but it's unclear if this will remain) and can do so by watching the large red rings around each one. It's a little bit of Metal Gear: Warlock as you head into the temple proper. When you get to the ramp where Supremus typically stands you'll see three guards whose coverage area takes over the entire path. Again, I was able to stroll past them, but someone on the forums reported that they were able to send in a pet to lure a guard away from their post and sneak by.

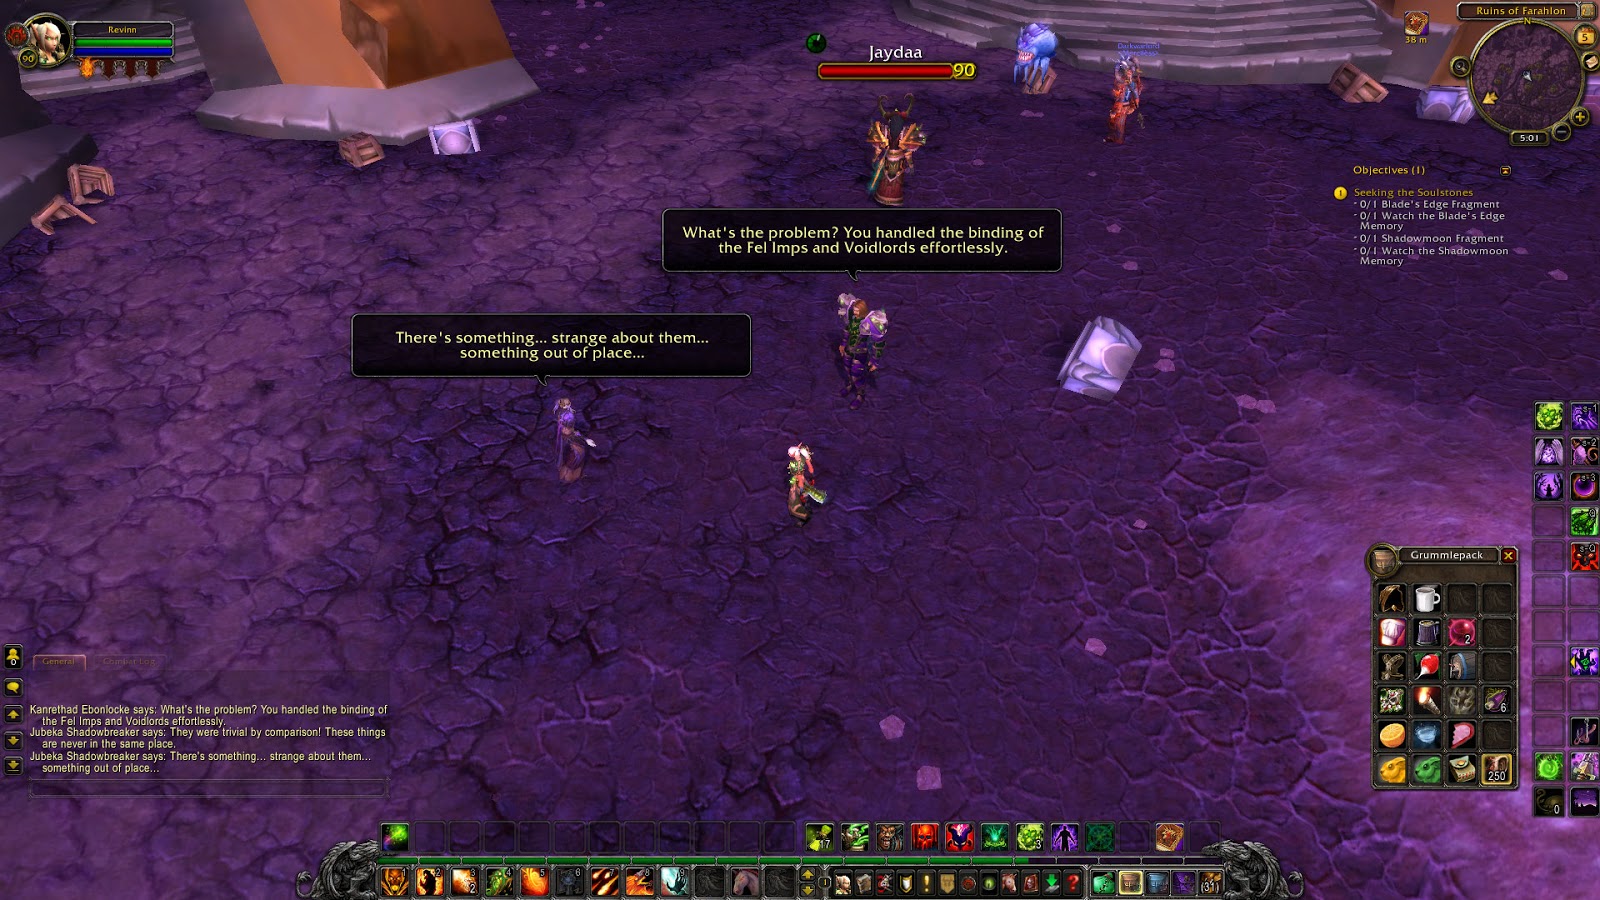
There are more patrolling guards inside to watch for. Head to the terrace in the center and click on the scroll laying on the ground. Akama will sap you and appear from behind.


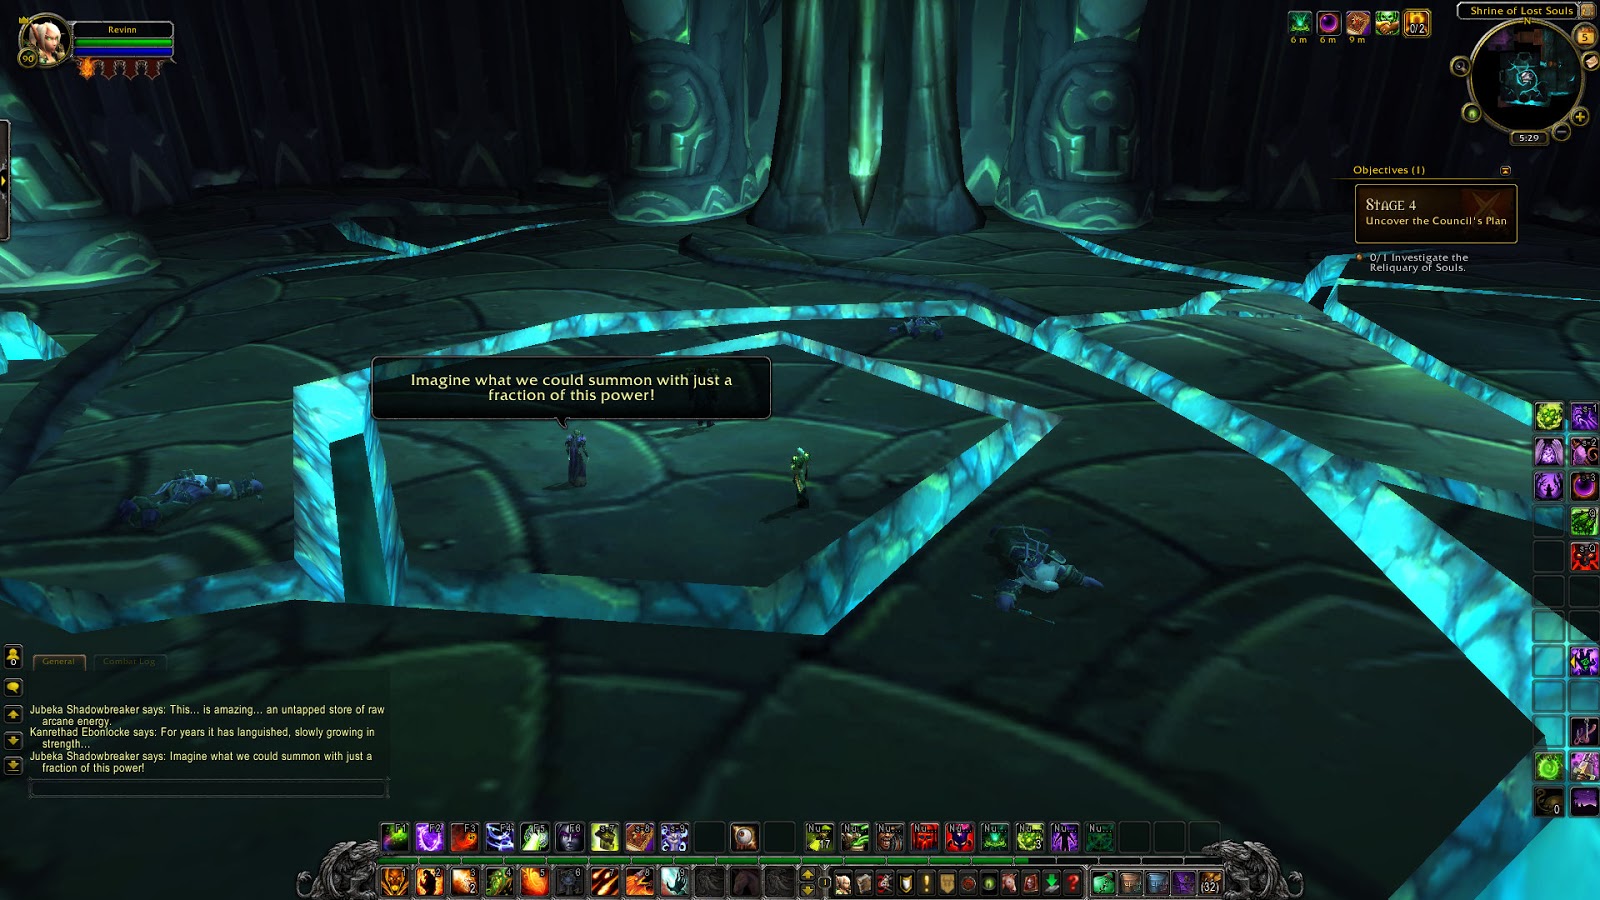
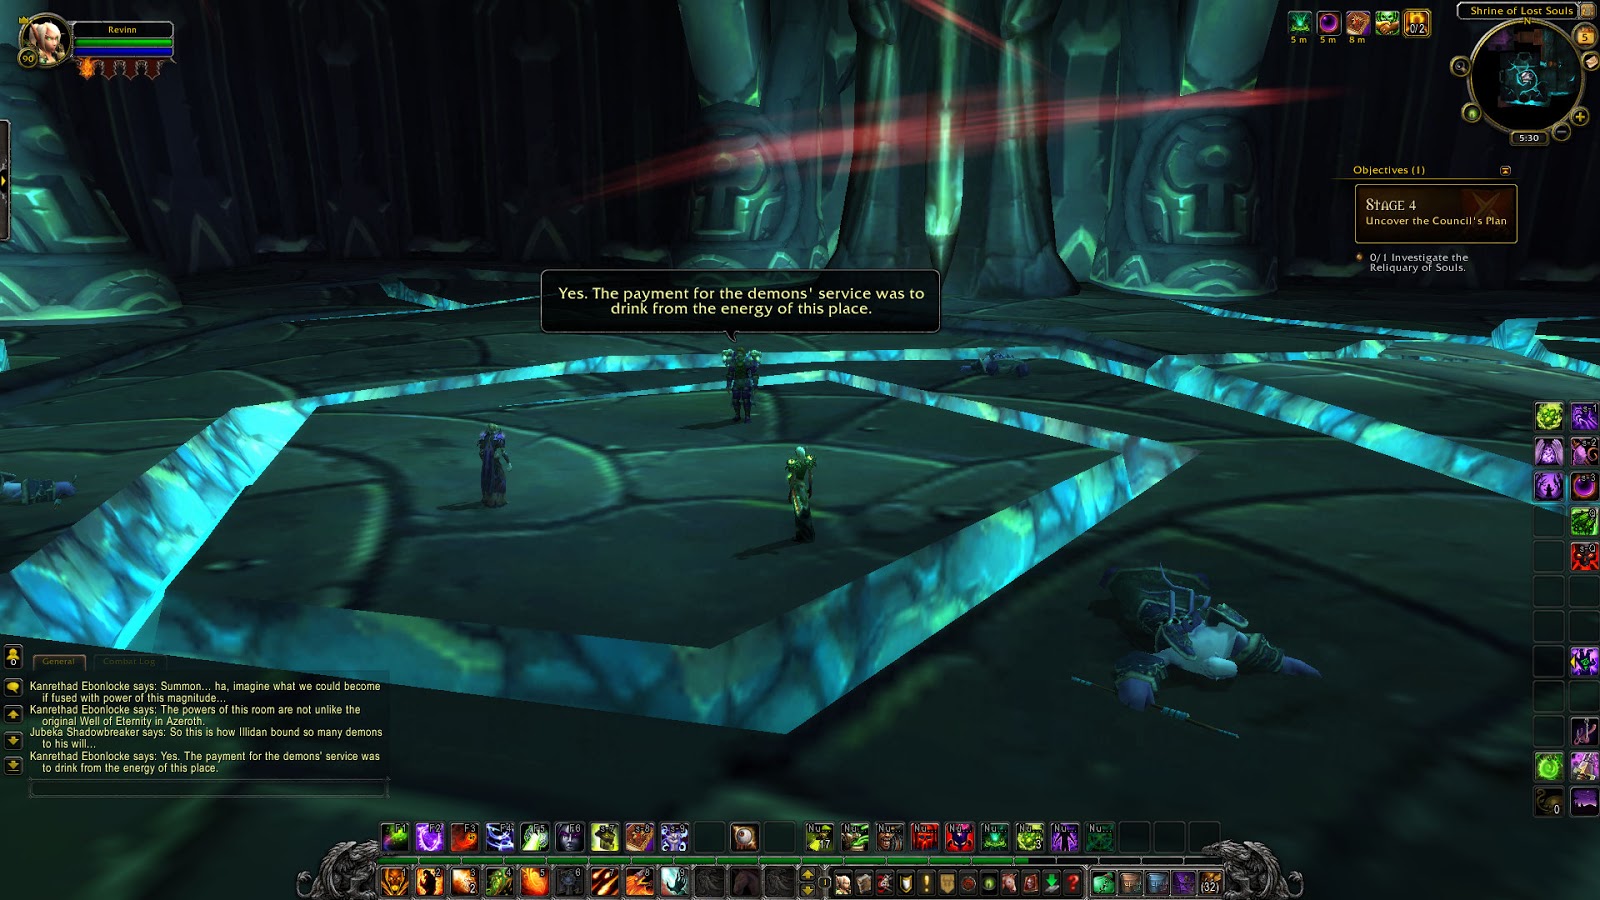
After the dialogue, he'll escort you to the Reliquary of Souls and warn you about traps with some specific advice about "scouting ahead". This is a perfect opportunity to break out your Eye of Kilrogg for (probably) the first time since you received the spell while leveling. While gazing through the Eye, you can clearly see blue traps all over the floor. You can take several approaches here. Either glyph your Eye and use it to place your Demonic Circle, use it to place raid markers to light your path or use the fact that the traps don't instantly vanish after dismissing your Eye to inch your way through the maze (summon, get a look at where you're going, run for a bit, repeat).


Once you're through, you're faced (ha!) with your first boss fight, the Essence of Order. This fight is relatively simple. Just send your Voidwalker in to tank the boss while you stand at range and unload. Occasionally he will turn towards you and spit a line of fire similar to Marrowgar in ICC. Just sidestep it. You'll slowly make a large circle around the boss and the lines of fire should despawn long before you loop around again. Waves of small adds will spawn that will need to be AoE'd down with a defensive CD rolling and possible use of Ember Tap or Harvest Life. It may take a couple of tries, but isn't much more difficult than most MoP rare spawns.

When the boss dies, he (she?) summons a bunch of demons into the temple that are now between you and your way out. Of note are the larger Centurions that a ranged silence, strong melee attacks and a large health pool. Pro tip: enslave one. Fight your way through them and find Akama.

Akama tells you that demons are overrunning the temple and asks your aid in cleaning up. After he runs off, your character will stop (involuntarily) and summon your Imp who, being the evil little twerp he is, suggests that you instead use the chaos of the battle to ransack the temple and steal everything you can get your hands on.


From here you'll do just that. Head to the Den of Mortal Delights and grab everything you that you can click on. Gems on the floor, platters and piles of gold coins in the corner, everything. Each one loots a piece of vendor trash that you can sell for a few gold each. Again, Centurions are plentiful in here so you'll want to enslave one to help moving through the temple easier. As of this current build you only have five minutes so you'll need to move quick.

Once the timer is up, head to the temple summit. This is where things get interesting.
Sitting alone on the summit is a small Soulwell that you can interact with. Before clicking on it, make sure that you're fully buffed (flask, food and drums) and prepared because it activates what is one of the hardest solo encounters Blizzard has ever created. I highly recommend the following setup:
- Dark Regeneration
- Mortal Coil
- Sacrificial Pact
- Unbound Will
- Grimoire of Sacrifice: Voidwalker
- Glyph of Fear
- Glyph of Healthstone
- Glyph of Enslave Demon
The fight begins when Kanrethad finishes his little speech, but he won't automatically start attacking you. Instead, he'll just stand there for a little bit as you whittle away at his massive health pool (approximately 26 million). You'll want to front-load as much damage as you can because the fight becomes too chaotic later on to effectively DPS him, so prepot and dump Dark Soul, any trinkets and your Doomguard out of the gate. I currently burst for about 175K DPS in my gear with raid buffs and I was only able to knock about 10% of his health off before I had to start focusing on something else.

Shortly in he'll start summoning a pit lord from the massive Demonic Gateway he emerged from. If you're not quick enough to enslave the demon (yes, you get to enslave a pit lord) it will charge and stun you followed by a nasty channeled AoE that will eat most of your health pool. This is why the Glyph of Enslave Demon is so handy for this fight. As soon as it's been enslaved, set him on Kanrethad.

At this point I was way too busy to consider taking screenshots.
Kanrethad has a full suite of Warlock abilities, including a 10 minute Agony, 7 minute Doom (one-shots you when it expires - this is your enrage timer), a Chaos Bolt that hits for 600K and a Cataclysm that will knock you back about 30 yards and almost one-shot you. Use your Unbound Will to clear his Dots and follow up with a Mortal Coil to negate the health cost. There are several small alcoves throughout the temple summit that you can use to hide in and line-of-sight his Chaos Bolt. Immediately after Chaos Bolt, he will run to the center of the platform and start casting Cataclysm. Normal interrupts do not work so you'll need to use the pit lord's Charge to stun him mid-cast.
Soon, Kanrethad will summon an army of imps who will instantly start chain casting fireballs. Use the pit lords channeled AoE in addition to your own abilities to mow them down and use Sacrificial Pact when they inevitably focus on you. Remember that Sacrificial Pact's bubble equates to your pet's entire health pool which, in this case, is about 20 million HP. On a one-minute CD, that's ridiculously powerful.
After you deal with the imps, he'll bring out a pack of Felhunters that will spam Devour Magic. I had the most succes with this phase when I decided to banish the first dog, fear the second and then burn them down one at a time. Having three up all at once will allow them to either focus on you (and probably kill you) or run loose and inevitably dispel the Enslave on your pit lord. That's bad. Keep dots on Kanrethad as much as possible, but you'll be otherwise too distracted to worry about him. Again, continue to use Unbound Will to clear dots as necessary. Agony will tick for as high as 100K if you let it stack too far and you definitely don't want that to happen.
After the dogs are dealt with, he'll bring a couple Wrathguards into the fight. They have too much health to reasonably DPS down and they hit hard, so your best bet is to lock them down with CC's like Banish and Fear while focusing on Kanrethad and (again) dodging Chaos Bolts, clearing dots and interrupting Cataclysm.
Oh, and watch out for Black Holes. They suck you in and do damage as long as you're inside. Getting out is almost impossible without the use of your Demonic Circle or Gateway but using those abilities puts your at risk of not being able to line-of-sight Chaos Bolt.
Once he's down, Jubeka will show up to banish him and end the encounter.


Enjoy your green fire. If you wish to revert to the standard red fire, you can do so by talking to Jubeka and asking her to "cleanse the fel taint" either now in the Black Temple or later at the Alter of Damnation in Shadowmoon Valley.

No comments:
Post a Comment